GOM GmbH, based in Braunschweig, Germany, is expanding its ATOS series by a new sensor for full-field digitizing and inspection of contoured part geometries.

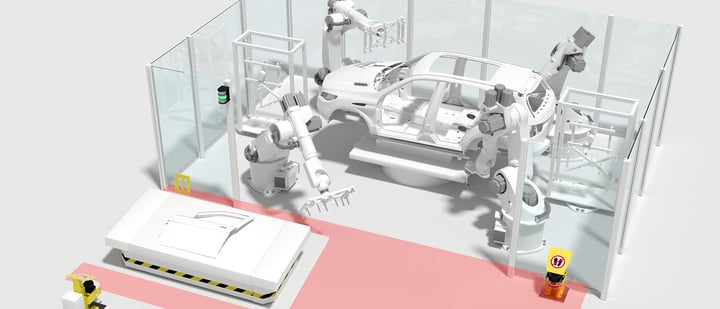
The fringe projection system is used for production quality assurance of small to medium-sized parts and excels by its high precision for fine details. ATOS Capsule is used, for example, for first article inspection of gears, turbine blades and wheels as well as medical parts. In addition to surface deviations from CAD, GD&T data and detailed information is derived automatically. ATOS 3D scanners have become firmly established in optical metrology. ATOS Capsule combines proven GOM technologies, such as Blue Light Technology and the triple scan principle, with a cutting-edge housing design that provides optimum protection against dust and splashing water for industrial use. Due to the maximum stiffness of the unibody housing, the sensor achieves the required process stability for automated applications and precise measuring results. In the standardized measuring machine ATOS ScanBox, the ATOS Capsule system is used for fully automated measurements and inspection. The ATOS ScanBox is a complete optical 3D measuring machine that was developed by GOM for an efficient quality control in production and manufacturing processes. For different part sizes and applications, flexible and partly mobile solutions are available. Using the photogrammetric add-on sensor ATOS Plus, bigger components or several parts can be measured simultaneously in an ATOS ScanBox, while increasing the overall accuracy at the same time. Two versions of the ATOS Capsule are available with different levels of detail. The system captures 8 or 12 million points per scan with changeable measuring areas. The dimensions of the sensor, its low weight and the short working distance simplify its application in practice.


